音频数据增强 
译者:龙琰
项目地址:https://pytorch.apachecn.org/2.0/tutorials/beginner/audio_data_augmentation_tutorial
原始地址:https://pytorch.org/audio/stable/tutorials/audio_data_augmentation_tutorial.html
作者: Moto Hira
torchaudio 提供了多种方法来增强音频数据。
在本教程中,我们研究了一种应用效果,滤波器,RIR(房间声学冲激响应)和编解码器的方法。
最后,我们通过电话从干净的语音中合成嘈杂的语音。
import torch
import torchaudio
import torchaudio.functional as F

print(torch.__version__)
print(torchaudio.__version__)

import matplotlib.pyplot as plt
输出:
准备工作
首先,我们导入模块并下载本教程中使用的音频资料。
from IPython.display import Audio

from torchaudio.utils import download_asset

SAMPLE_WAV = download_asset("tutorial-assets/steam-train-whistle-daniel_simon.wav")
SAMPLE_RIR = download_asset("tutorial-assets/Lab41-SRI-VOiCES-rm1-impulse-mc01-stu-clo-8000hz.wav")
SAMPLE_SPEECH = download_asset("tutorial-assets/Lab41-SRI-VOiCES-src-sp0307-ch127535-sg0042-8000hz.wav")
SAMPLE_NOISE = download_asset("tutorial-assets/Lab41-SRI-VOiCES-rm1-babb-mc01-stu-clo-8000hz.wav")
输出:
  0%|          | 0.00/427k [00:00<?, ?B/s]
100%|##########| 427k/427k [00:00<00:00, 169MB/s]

  0%|          | 0.00/31.3k [00:00<?, ?B/s]
100%|##########| 31.3k/31.3k [00:00<00:00, 29.8MB/s]

  0%|          | 0.00/78.2k [00:00<?, ?B/s]
100%|##########| 78.2k/78.2k [00:00<00:00, 54.5MB/s]
应用效果和过滤
torchaudio.io.AudioEffector 允许直接将过滤器和编解码器应用于 Tensor 对象,与 ffmpeg 命令类似
AudioEffector Usages <./effector_tutorial.html> 解释了如何使用该类,详细内容请参考教程。
# Load the data
waveform1, sample_rate = torchaudio.load(SAMPLE_WAV, channels_first=False)

# Define effects
effect = ",".join(
    [
        "lowpass=frequency=300:poles=1",  # apply single-pole lowpass filter
        "atempo=0.8",  # reduce the speed
        "aecho=in_gain=0.8:out_gain=0.9:delays=200:decays=0.3|delays=400:decays=0.3"
        # Applying echo gives some dramatic feeling
    ],
)


# Apply effects
def apply_effect(waveform, sample_rate, effect):
    effector = torchaudio.io.AudioEffector(effect=effect)
    return effector.apply(waveform, sample_rate)


waveform2 = apply_effect(waveform1, sample_rate, effect)

print(waveform1.shape, sample_rate)
print(waveform2.shape, sample_rate)
输出:
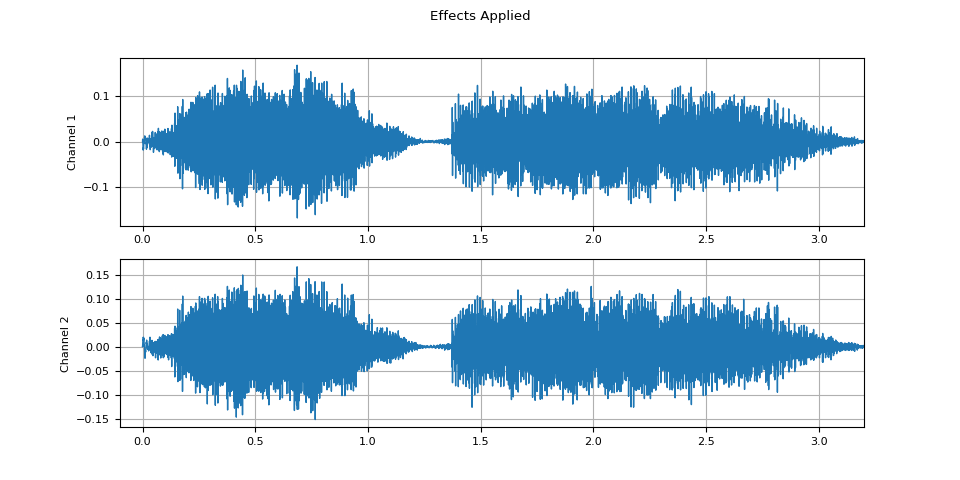
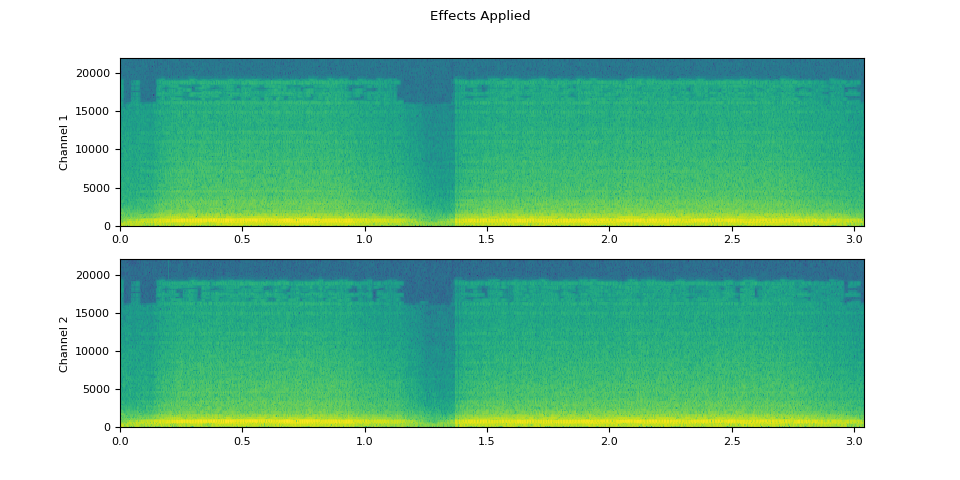
请注意,应用效果后,帧数和通道数与原始帧数和通道数不同。 我们来听一下音频。
def plot_waveform(waveform, sample_rate, title="Waveform", xlim=None):
    waveform = waveform.numpy()

    num_channels, num_frames = waveform.shape
    time_axis = torch.arange(0, num_frames) / sample_rate

    figure, axes = plt.subplots(num_channels, 1)
    if num_channels == 1:
        axes = [axes]
    for c in range(num_channels):
        axes[c].plot(time_axis, waveform[c], linewidth=1)
        axes[c].grid(True)
        if num_channels > 1:
            axes[c].set_ylabel(f"Channel {c+1}")
        if xlim:
            axes[c].set_xlim(xlim)
    figure.suptitle(title)
def plot_specgram(waveform, sample_rate, title="Spectrogram", xlim=None):
    waveform = waveform.numpy()

    num_channels, _ = waveform.shape

    figure, axes = plt.subplots(num_channels, 1)
    if num_channels == 1:
        axes = [axes]
    for c in range(num_channels):
        axes[c].specgram(waveform[c], Fs=sample_rate)
        if num_channels > 1:
            axes[c].set_ylabel(f"Channel {c+1}")
        if xlim:
            axes[c].set_xlim(xlim)
    figure.suptitle(title)
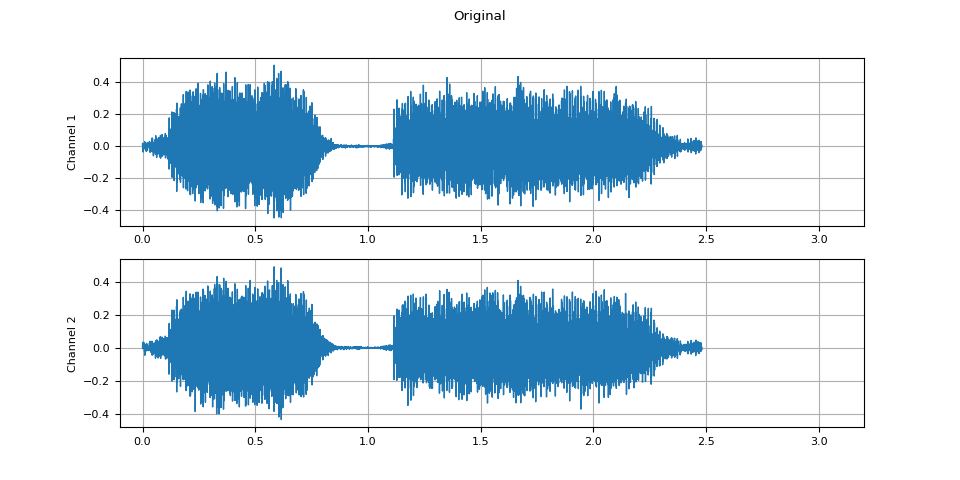
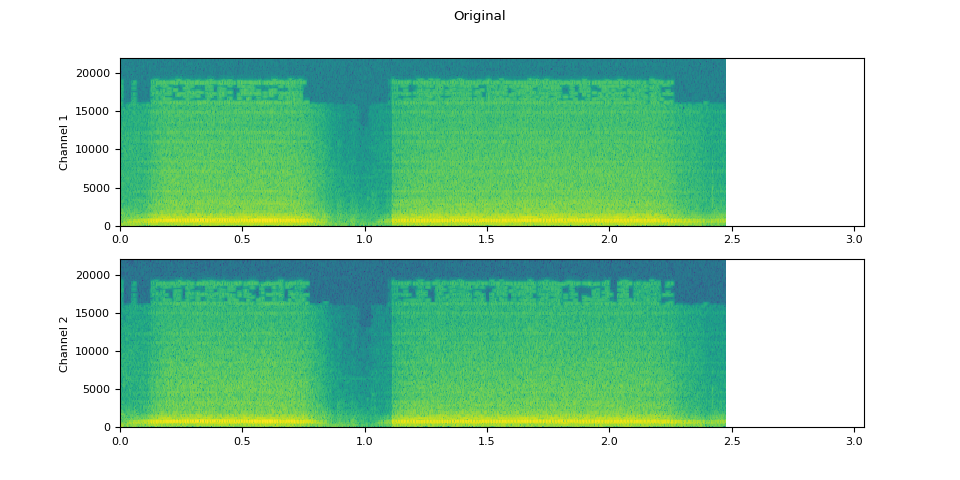
原始音频
plot_waveform(waveform1.T, sample_rate, title="Original", xlim=(-0.1, 3.2))
plot_specgram(waveform1.T, sample_rate, title="Original", xlim=(0, 3.04))
Audio(waveform1.T, rate=sample_rate)
应用效果后的音频
plot_waveform(waveform2.T, sample_rate, title="Effects Applied", xlim=(-0.1, 3.2))
plot_specgram(waveform2.T, sample_rate, title="Effects Applied", xlim=(0, 3.04))
Audio(waveform2.T, rate=sample_rate)
模拟房间混响
卷积混响(Convolution reverb)是一种用于制造干净音频的技术,就像在不同的环境中产生的声音一样。
例如,使用房间声学冲激响应(RIR),我们可以使干净的语音听起来就像在会议室里说话一样。
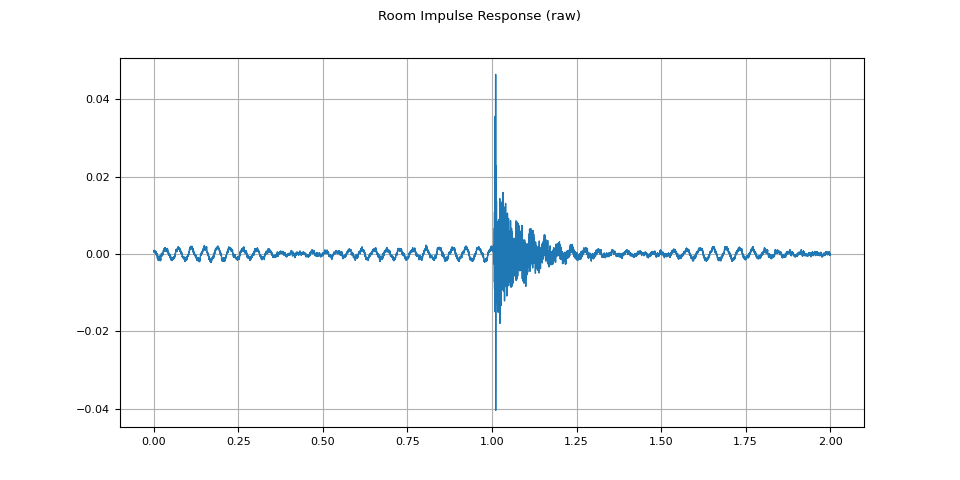
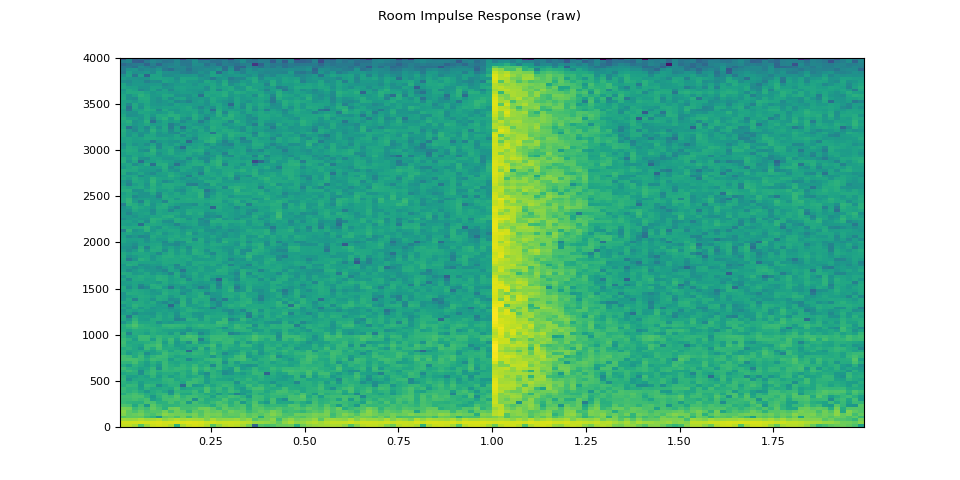
对于这个过程,我们需要 RIR 数据。以下数据来自 VOiCES 数据集,但你也可以自己录制——只需打开麦克风并拍手。
rir_raw, sample_rate = torchaudio.load(SAMPLE_RIR)
plot_waveform(rir_raw, sample_rate, title="Room Impulse Response (raw)")
plot_specgram(rir_raw, sample_rate, title="Room Impulse Response (raw)")
Audio(rir_raw, rate=sample_rate)
首先,我们需要清理 RIR,提取主脉冲并将其归一化。
rir = rir_raw[:, int(sample_rate * 1.01) : int(sample_rate * 1.3)]
rir = rir / torch.linalg.vector_norm(rir, ord=2)

plot_waveform(rir, sample_rate, title="Room Impulse Response")
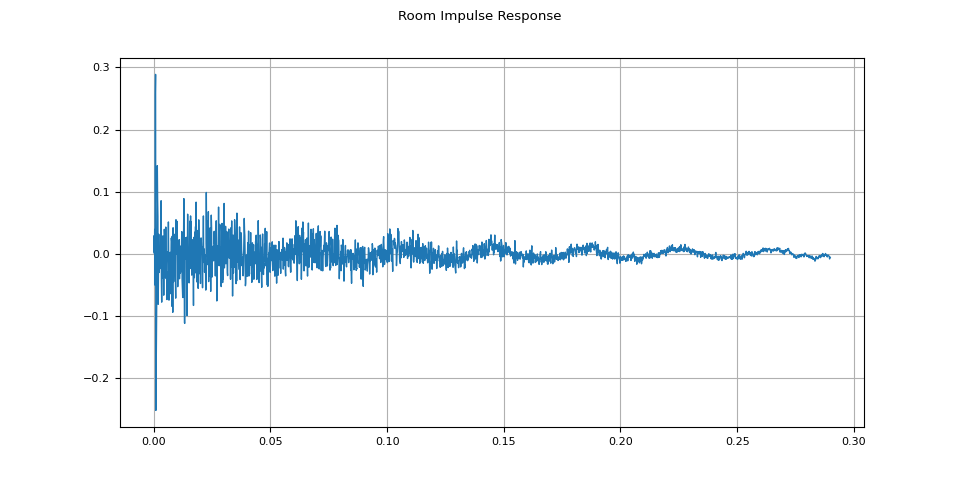
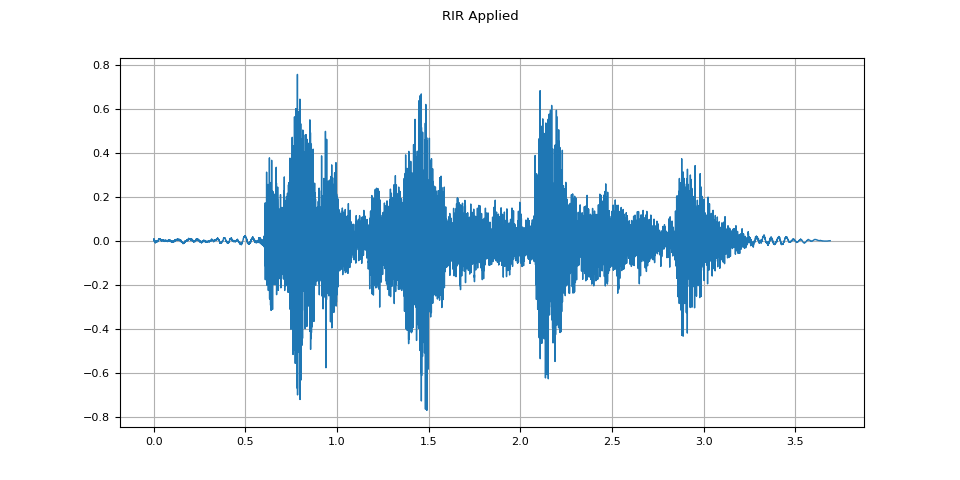
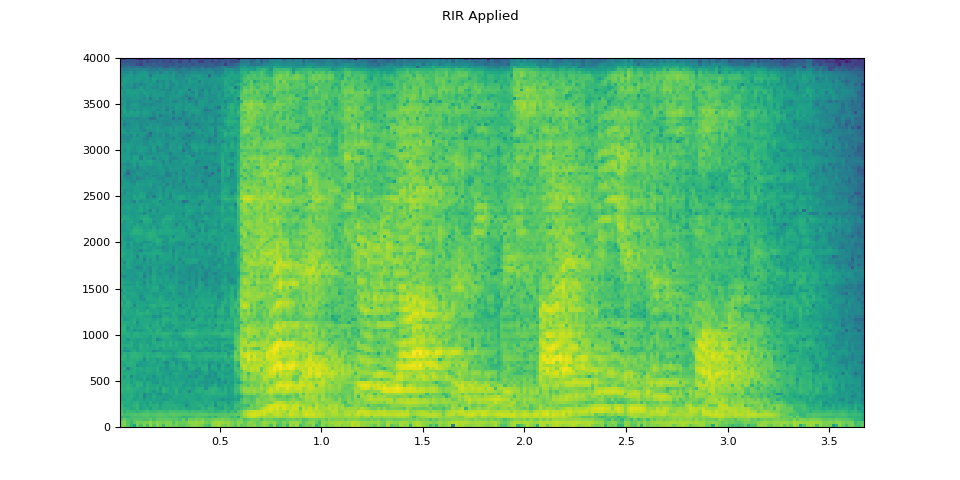
然后,使用 torchaudio.function.fftconvolve(),我们将语音信号与 RIR 进行卷积。
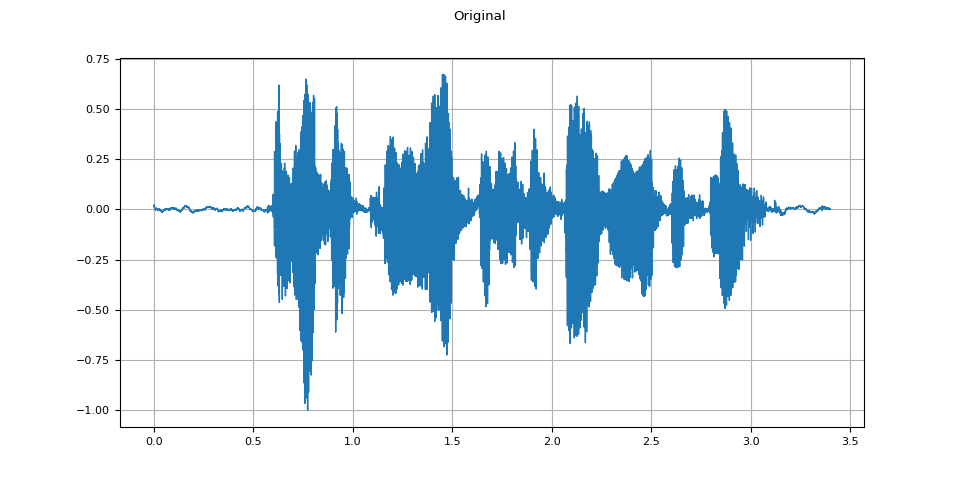
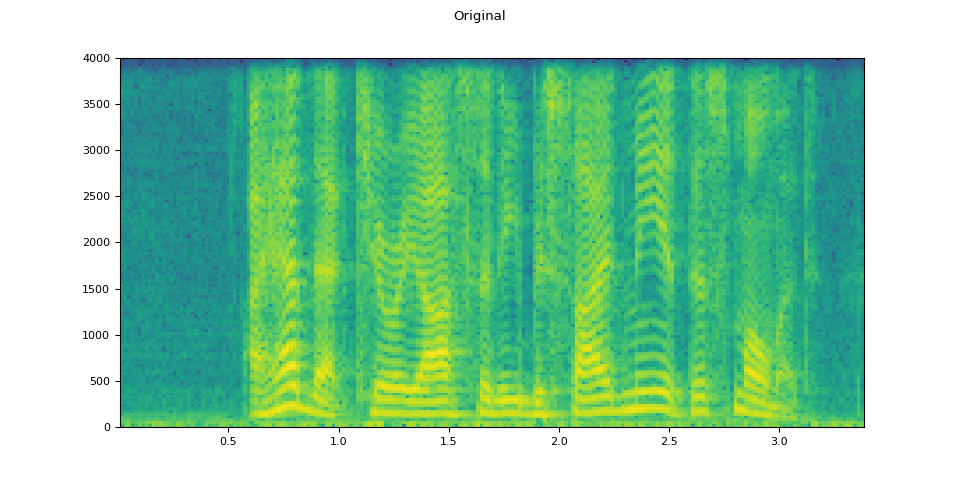
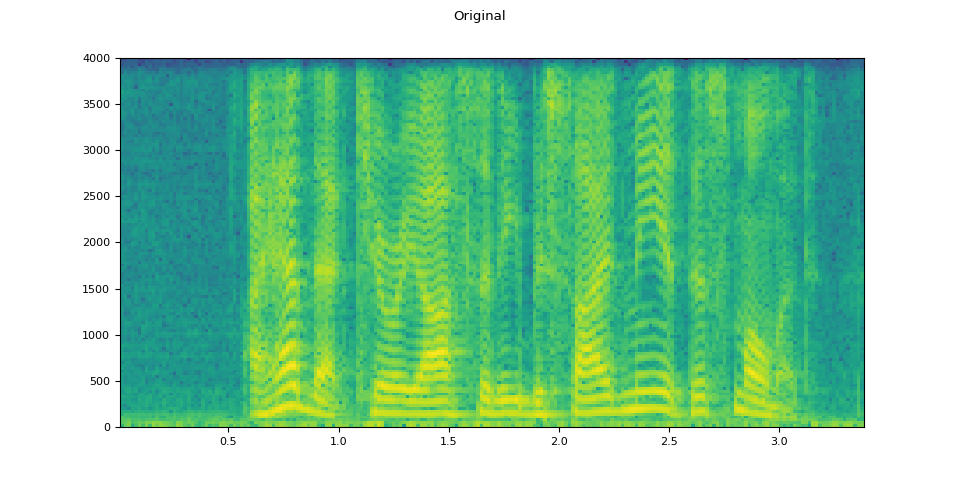
原始音频
plot_waveform(speech, sample_rate, title="Original")
plot_specgram(speech, sample_rate, title="Original")
Audio(speech, rate=sample_rate)
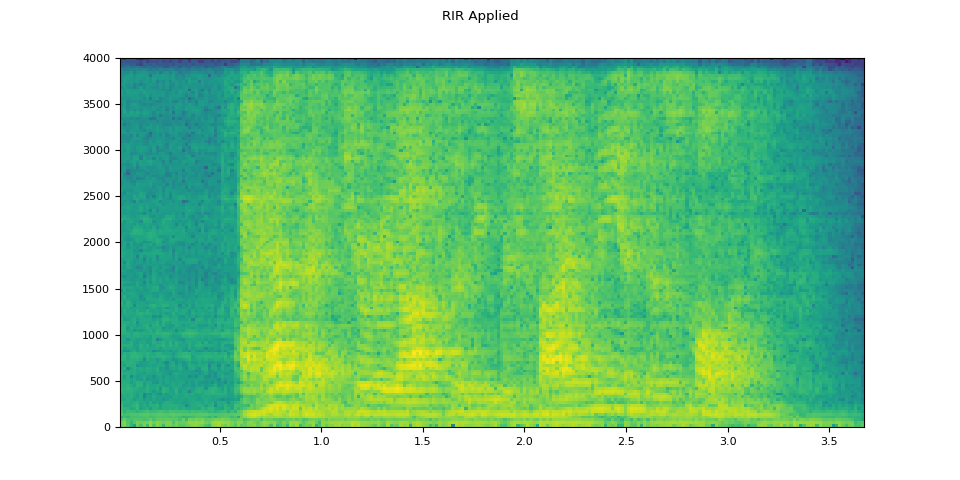
经过 RIR 处理后的音频
plot_waveform(augmented, sample_rate, title="RIR Applied")
plot_specgram(augmented, sample_rate, title="RIR Applied")
Audio(augmented, rate=sample_rate)
添加背景噪声
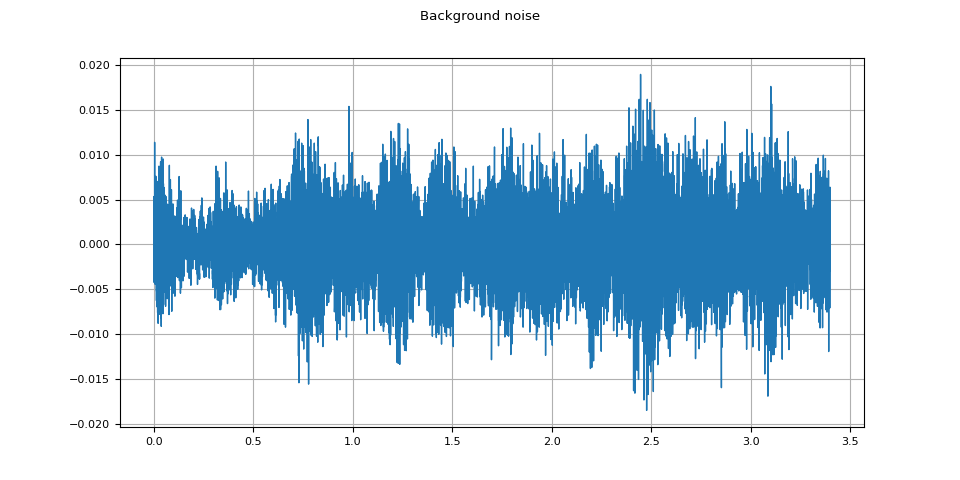
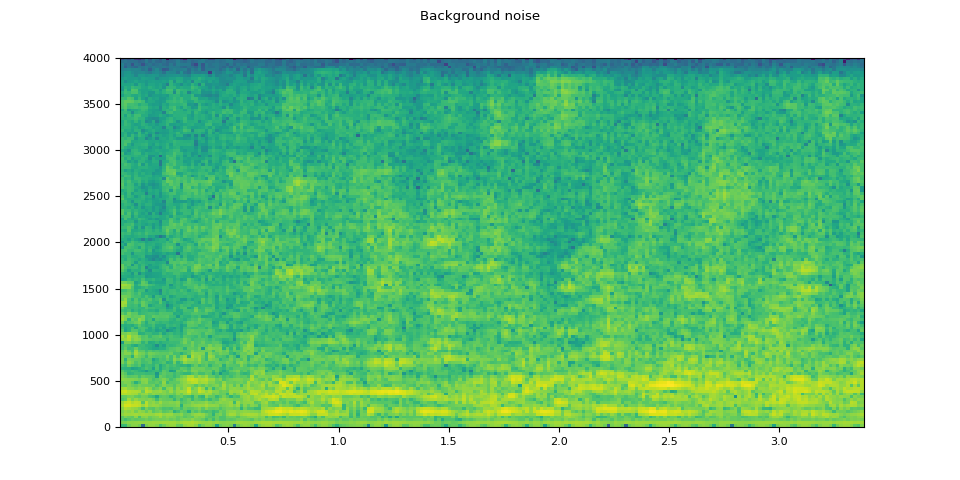
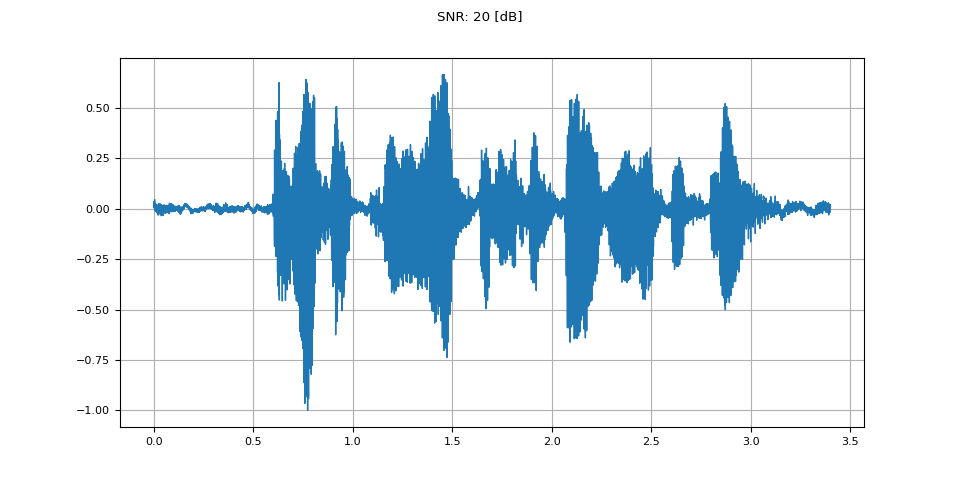
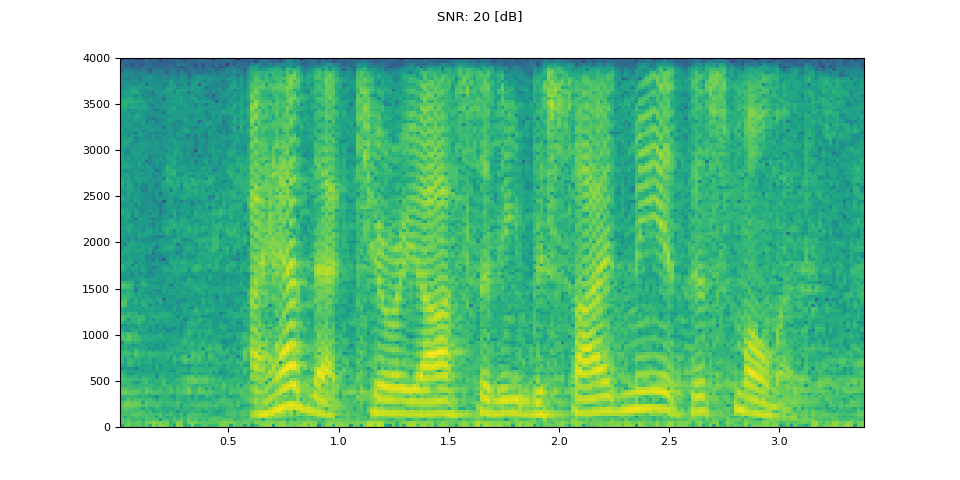
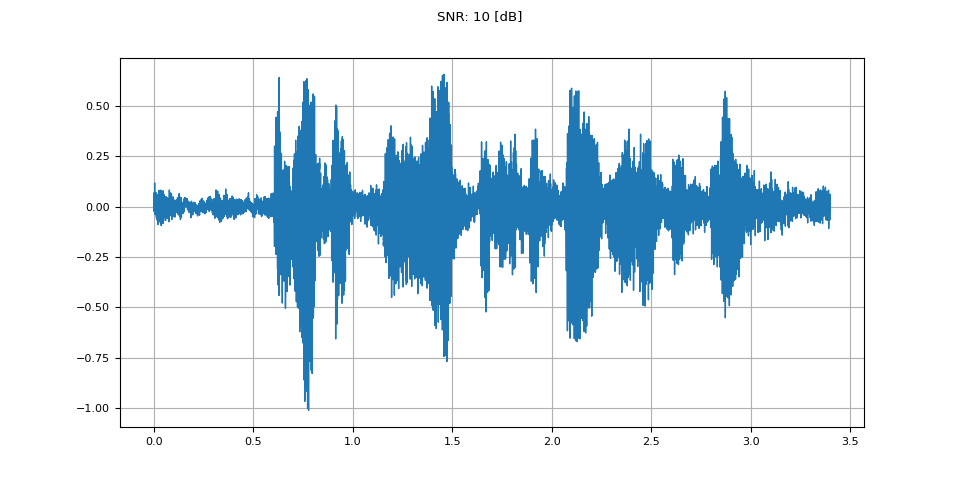
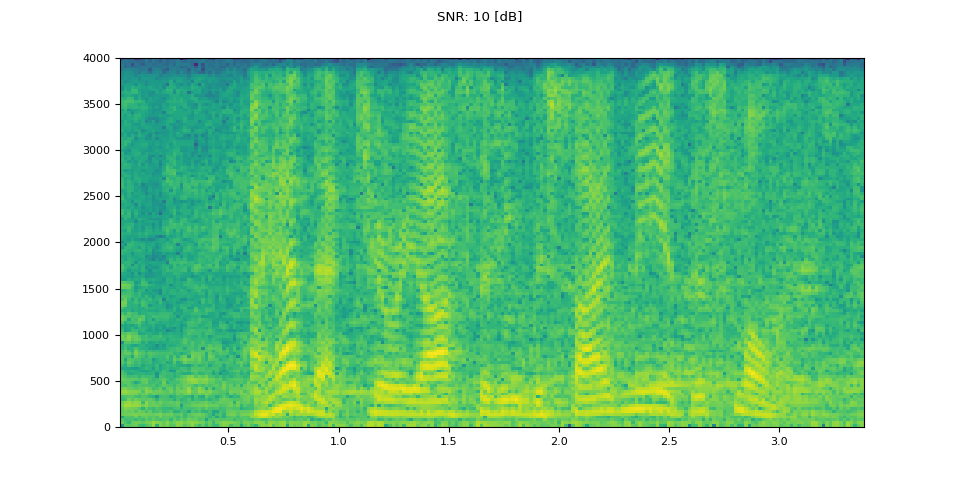
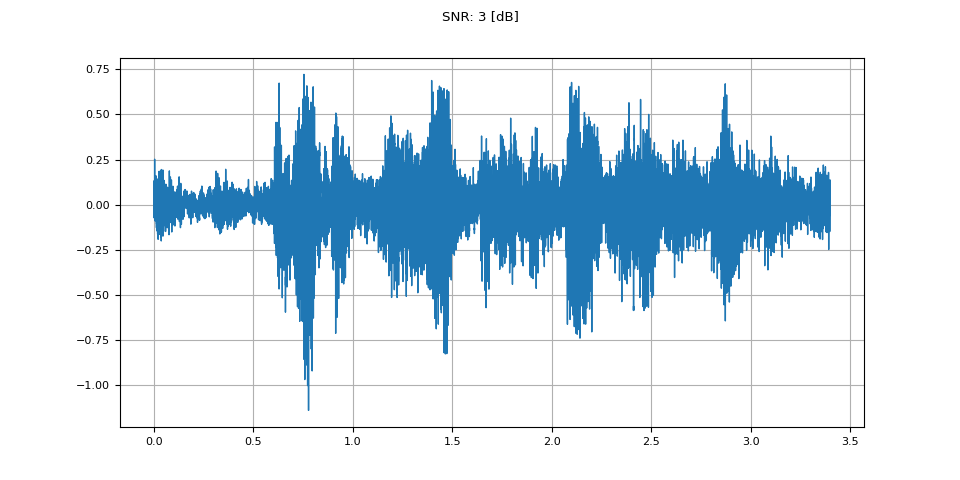
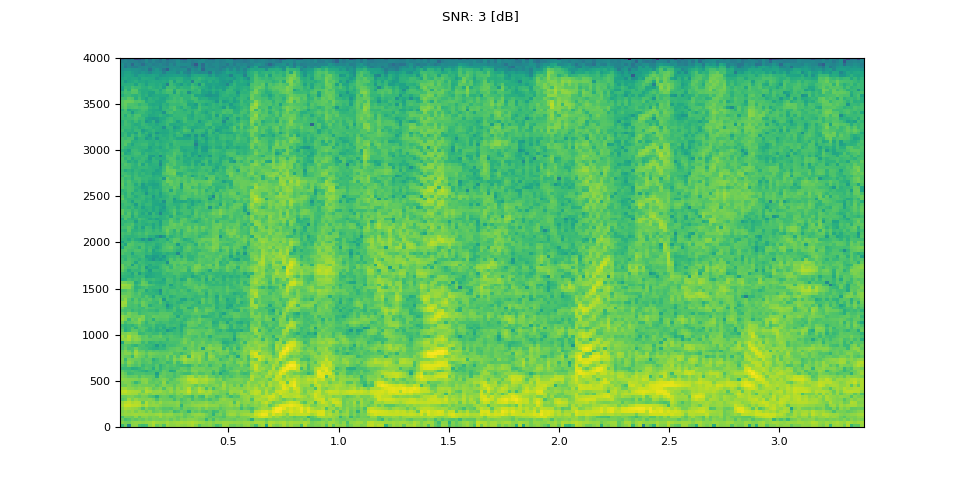
为了在音频数据中引入背景噪声,我们可以根据期望的信噪比(SNR)[wikipedia]在表示音频数据的张量中添加一个噪声张量,SNR 决定了音频数据相对于输出噪声的强度。
为了按 SNR 添加噪声到音频数据,我们使用 torchaudio.functional.add_noise。
speech, _ = torchaudio.load(SAMPLE_SPEECH)
noise, _ = torchaudio.load(SAMPLE_NOISE)
noise = noise[:, : speech.shape[1]]

snr_dbs = torch.tensor([20, 10, 3])
noisy_speeches = F.add_noise(speech, noise, snr_dbs)
背景噪声
plot_waveform(noise, sample_rate, title="Background noise")
plot_specgram(noise, sample_rate, title="Background noise")
Audio(noise, rate=sample_rate)
信噪比 20 分贝(SNR 20 dB)
snr_db, noisy_speech = snr_dbs[0], noisy_speeches[0:1]
plot_waveform(noisy_speech, sample_rate, title=f"SNR: {snr_db} [dB]")
plot_specgram(noisy_speech, sample_rate, title=f"SNR: {snr_db} [dB]")
Audio(noisy_speech, rate=sample_rate)
信噪比 10 分贝(SNR 10 dB)
snr_db, noisy_speech = snr_dbs[1], noisy_speeches[1:2]
plot_waveform(noisy_speech, sample_rate, title=f"SNR: {snr_db} [dB]")
plot_specgram(noisy_speech, sample_rate, title=f"SNR: {snr_db} [dB]")
Audio(noisy_speech, rate=sample_rate)
信噪比 3 分贝(SNR 3 dB)
snr_db, noisy_speech = snr_dbs[2], noisy_speeches[2:3]
plot_waveform(noisy_speech, sample_rate, title=f"SNR: {snr_db} [dB]")
plot_specgram(noisy_speech, sample_rate, title=f"SNR: {snr_db} [dB]")
Audio(noisy_speech, rate=sample_rate)
将编解码器应用于 Tensor 对象
torchaudio.io.AudioEffector 也可以将编解码器应用于张量对象。
waveform, sample_rate = torchaudio.load(SAMPLE_SPEECH, channels_first=False)


def apply_codec(waveform, sample_rate, format, encoder=None):
    encoder = torchaudio.io.AudioEffector(format=format, encoder=encoder)
    return encoder.apply(waveform, sample_rate)
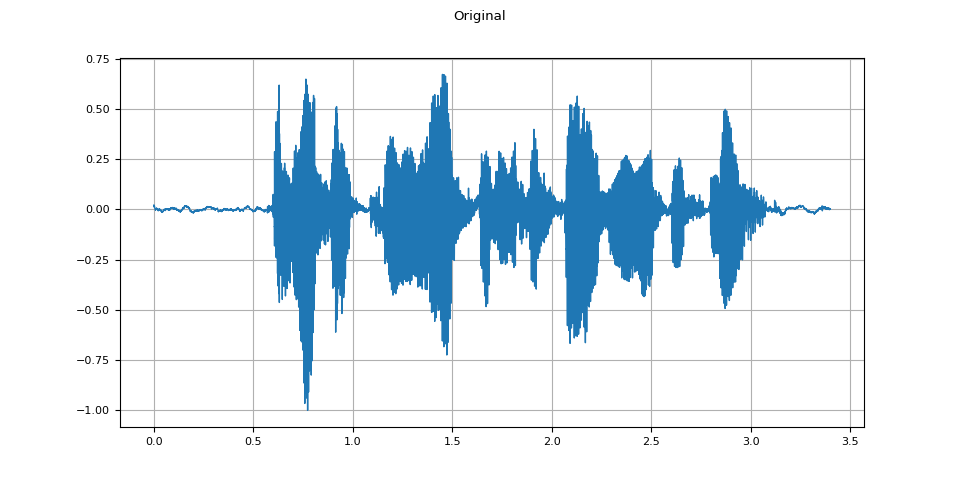
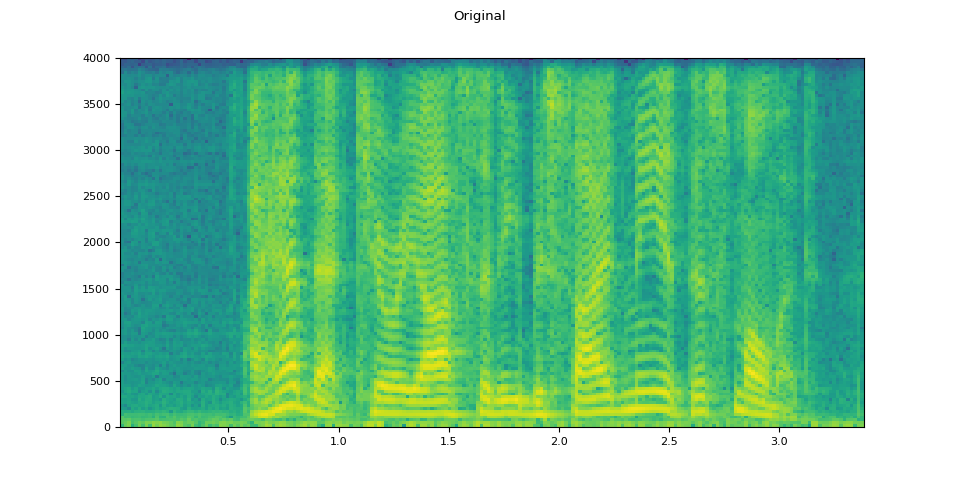
原始音频
plot_waveform(waveform.T, sample_rate, title="Original")
plot_specgram(waveform.T, sample_rate, title="Original")
Audio(waveform.T, rate=sample_rate)
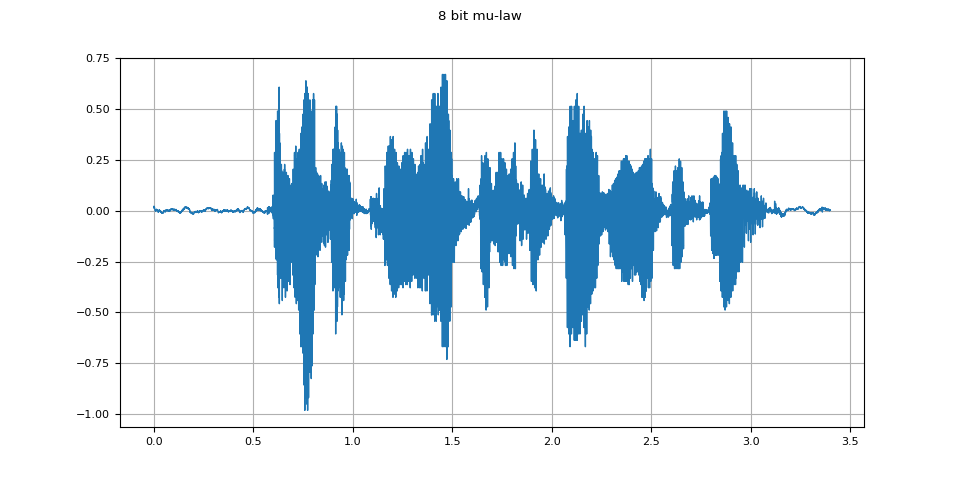
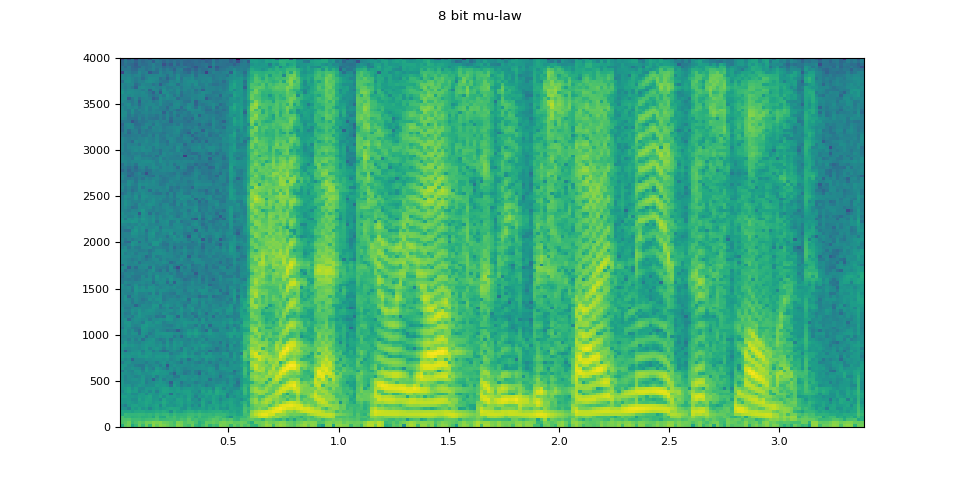
8 bit mu-law
mulaw = apply_codec(waveform, sample_rate, "wav", encoder="pcm_mulaw")
plot_waveform(mulaw.T, sample_rate, title="8 bit mu-law")
plot_specgram(mulaw.T, sample_rate, title="8 bit mu-law")
Audio(mulaw.T, rate=sample_rate)
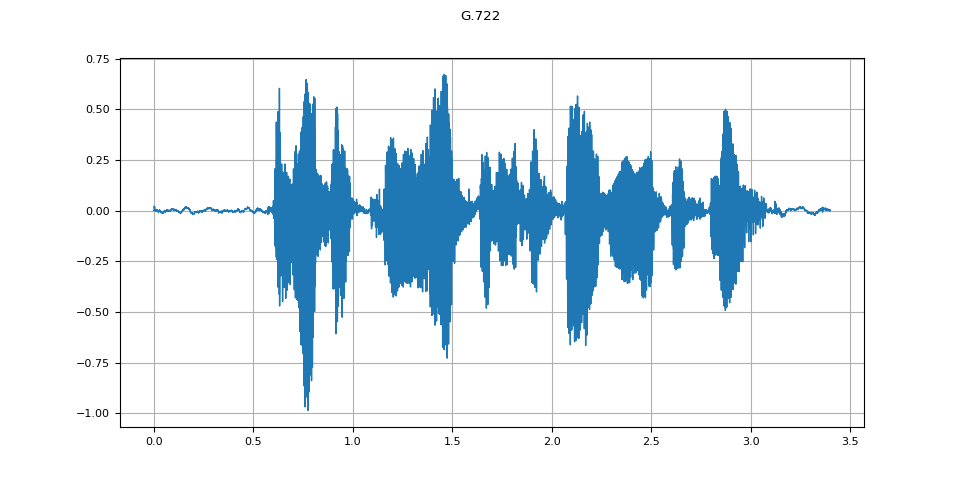
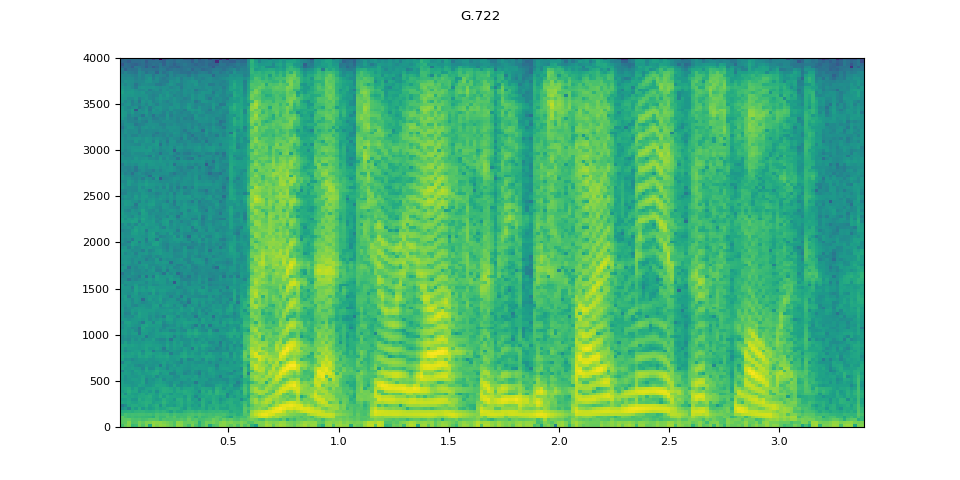
G.722
g722 = apply_codec(waveform, sample_rate, "g722")
plot_waveform(g722.T, sample_rate, title="G.722")
plot_specgram(g722.T, sample_rate, title="G.722")
Audio(g722.T, rate=sample_rate)
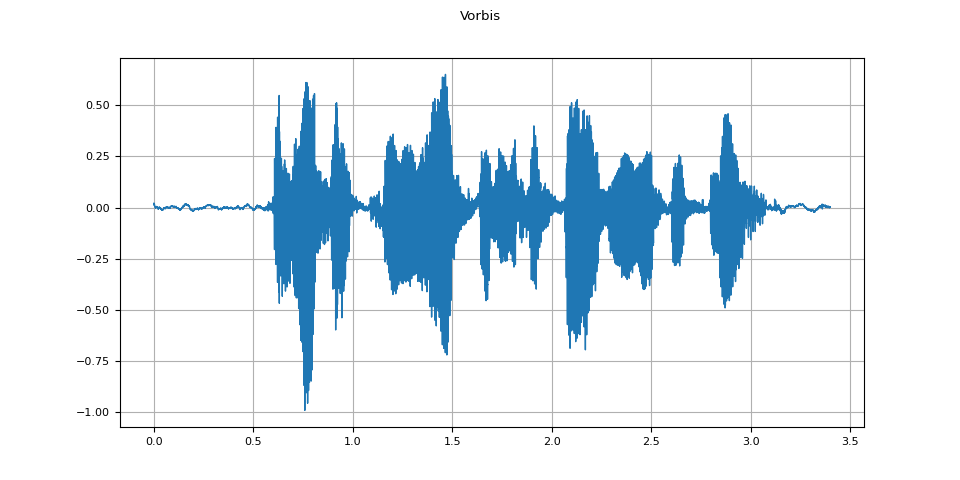
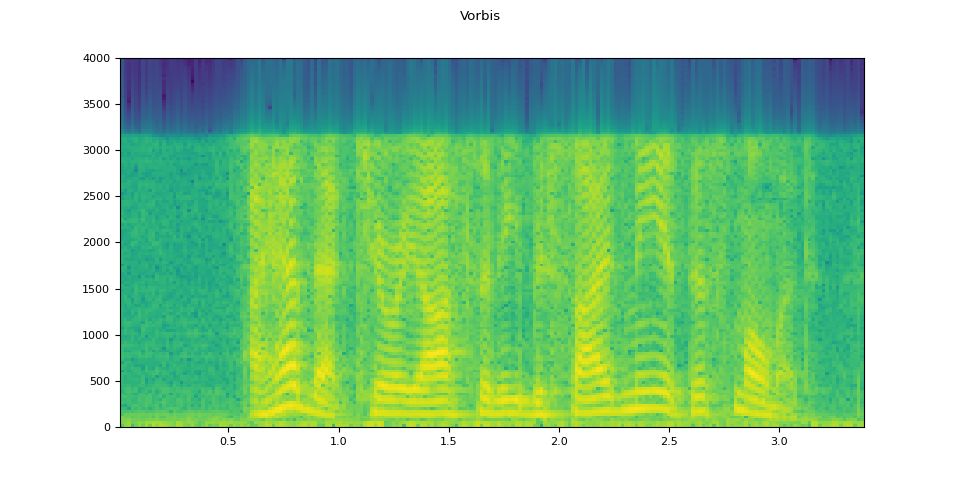
Vorbis
vorbis = apply_codec(waveform, sample_rate, "ogg", encoder="vorbis")
plot_waveform(vorbis.T, sample_rate, title="Vorbis")
plot_specgram(vorbis.T, sample_rate, title="Vorbis")
Audio(vorbis.T, rate=sample_rate)
模拟电话录音
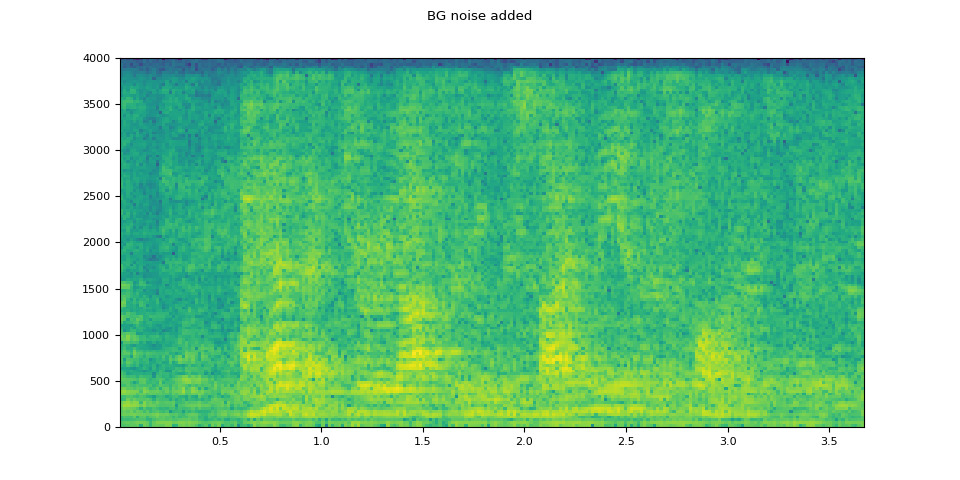
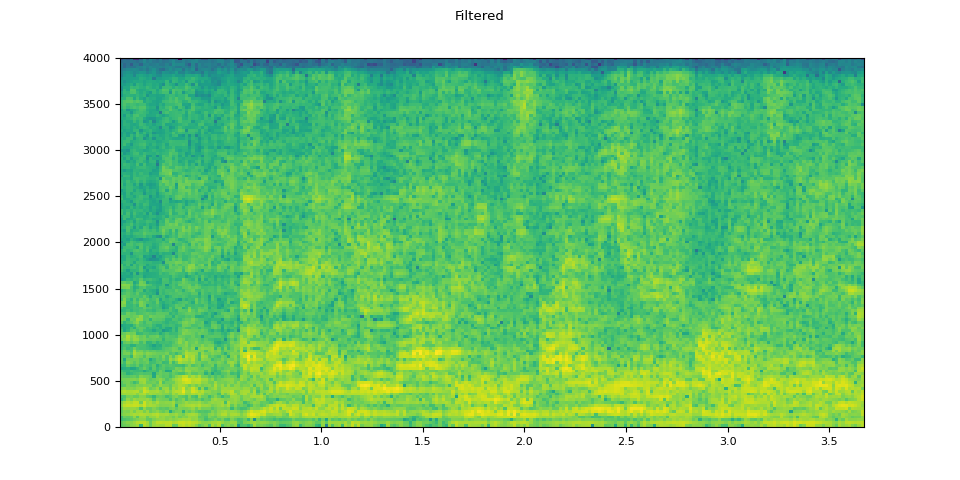
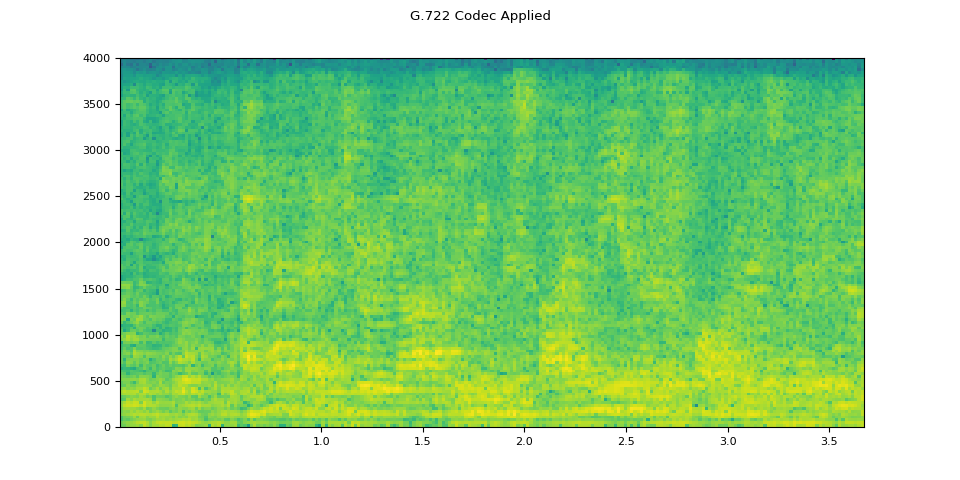
结合前面的技术,我们可以模拟声音,听起来就像一个人在有回声的房间里打电话,而背景中有人在说话。
sample_rate = 16000
original_speech, sample_rate = torchaudio.load(SAMPLE_SPEECH)

plot_specgram(original_speech, sample_rate, title="Original")

# Apply RIR
rir_applied = F.fftconvolve(speech, rir)

plot_specgram(rir_applied, sample_rate, title="RIR Applied")

# Add background noise
# Because the noise is recorded in the actual environment, we consider that
# the noise contains the acoustic feature of the environment. Therefore, we add
# the noise after RIR application.
noise, _ = torchaudio.load(SAMPLE_NOISE)
noise = noise[:, : rir_applied.shape[1]]

snr_db = torch.tensor([8])
bg_added = F.add_noise(rir_applied, noise, snr_db)

plot_specgram(bg_added, sample_rate, title="BG noise added")

# Apply filtering and change sample rate
effect = ",".join(
    [
        "lowpass=frequency=4000:poles=1",
        "compand=attacks=0.02:decays=0.05:points=-60/-60|-30/-10|-20/-8|-5/-8|-2/-8:gain=-8:volume=-7:delay=0.05",
    ]
)

filtered = apply_effect(bg_added.T, sample_rate, effect)
sample_rate2 = 8000

plot_specgram(filtered.T, sample_rate2, title="Filtered")

# Apply telephony codec
codec_applied = apply_codec(filtered, sample_rate2, "g722")
plot_specgram(codec_applied.T, sample_rate2, title="G.722 Codec Applied")
原始音频
经过 RIR 处理后的音频
添加背景噪声
经过滤波器处理后
应用编解码器
脚本的总运行时间:(0 分钟 14.677 秒)
